Simply Summer Romper – Tutorial and Free Pattern!
This week is Romper Week over at Sewing Mama RaeAnna, and at our house we love a good baby romper. I have a super easy tutorial so that your baby can be as adorable as mine (well… I’ll still think mine is the most adorable, if that’s okay ;) as well as a free 12 month size pattern!
If you have a baby wearing a 12 month size, you can download my free Simply Summer Romper pattern here (affiliate link). If not, you can still make one. :) When sewing with knits, you can use a serger as I did, or you can use a zig zag stitch to construct the romper. This post is full of great resources for sewing with knits.
Making your own pattern pieces (if you’re using the free pattern, skip down just a bit, because you don’t need this part):
Take a romper of your own and trace it – allowing for seam allowance. You could also put a T-shirt and a pair of shorts together and trace them as if they were one piece.
 I like to cut out half of it and then fold it over to make sure the left and right sides are going to be exactly the same.
I cut this romper out of an XXL T-shirt, so I left the sleeve hems in tact. If you don’t do this, make sure you leave some extra length for hemming.
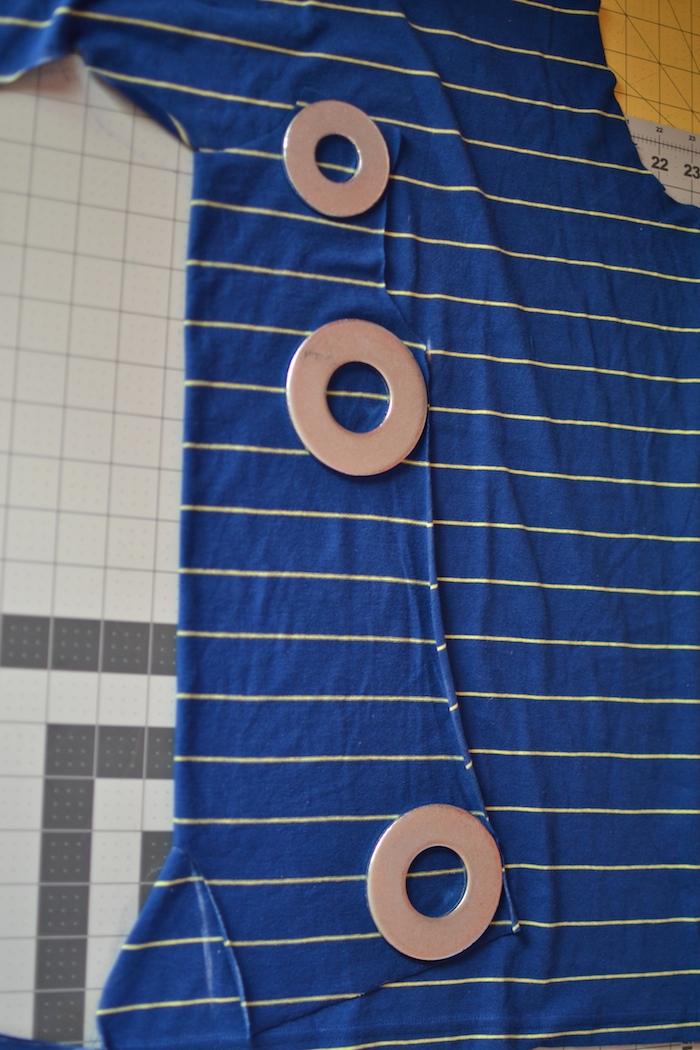
Make sure you trace the snap facings. Your back and front ones may be a bit different, depending on how the pieces look. You will want to cut two of the front facings.
Print and put the pattern together:
I apologize for anyone who had trouble putting this pattern together. This was my first digital PDF pattern, and I missed an important step. And while I’m quite familiar with putting PDF patterns together, not everyone else is. Lay your pattern pieces out as shown in the picture below. Yours will not have page 11 or 12 (or the pink rectangles… I’m not sure why those are there or how to get rid of them! ;)
Putting together your romper:
This pattern includes 3/8in. seam allowance.
1. Put the two back pieces Right Sides Together (RST) and sew.
 2. Pin the back and front pieces RST at the shoulders and the side seams.
3. Fold the sleeve piece RST and sew along the short edge (mine is hemmed in this picture, but yours won’t be, unless you are upcycling a T-shirt). Repeat with the second sleeve.
4. With the romper inside out and the sleeve right side out, place the sleeve inside the arm hole. Pin the bottom point (where the sleeve meets the underarm) and the top point (where the sleeve cap meets the shoulder) then carefully pin the rest of the sleeve. Sew around to attach the sleeve and repeat with the other sleeve.
5. Cut a 1in x 16in rectangle of ribbed knit (mine in the picture above is folded). If you’re upcycling a T-shirt, cut off the neckline and use it!
 6. Fold the ribbing with the short edges together and sew. Then fold the wrong sides together and press.
7. Pin the ribbing along the outside of the neckline as pictured and sew.
8. Then flip the neckline inside. You can topstitch if you’d like.
9. Pin the back snap facing to the bottom of the back romper piece, RST and sew.
10. Sew the two front snap facings together with RST.
11. Interface one side of the front snap facing and half of the back snap facing.
12. Fold the front snap facing with right sides out and press.
13. Sew the front snap facing to the outside of the front romper piece. Press the snap facing down flat.
 14. Fold and press 1/4in. of the back snap facing down and then fold and press the whole facing in half toward the inside of the romper. The raw edge should be tucked in. Top stitch it in place.
15. Hem the bottom and sleeves.
16. Attach your snaps according to their instructions (I like KAM snaps for their ease of use, but I think that regular metal snaps give the garment a more ready-to-wear feel). That’s it – you’re done!
Rompers in the summer are our favorite!
This romper is a super quick sew, and is so comfy for these little playful bodies!
Don’t forget to download your free Simply Summer Romper 12 month size pattern here! (affiliate link)
Head over to Sewing Mama RaeAnna to link up your own romper and win some amazing prizes! But if you don’t have a romper to link up, you can still enter to win some great prizes :)
Click here to enter the giveaway
And make sure you check out all the other fun rompers this week! Like my friend Melissa at Sew Like My Mom who has something ADORABLE to share today!
Happy sewing, friends! :)


Girl or boy – life is all about rompers in the summer at that age. He is adorable!
what a cute little romper =D
This is fantastic! It looks so profesh. well done! Pinned!
Super cute, it looks so comfy!
oh how cute, nice tutorial! Rompers are a must have for every baby, specially in summer. Looks so comfy!
Cute!!! I’ve got a Craft Gossip post scheduled for later this morning that links to your free pattern: http://sewing.craftgossip.com/free-pattern-simply-summer-romper-for-babies/2014/06/18/
–Anne
Such a cutie and love the romper too!
Is there any way you could show me how to piece the pattern together?
Me too please!
I spent almost an hour trying to piece the pattern together, with no luck. It’s a shame, it looked like a good pattern.
So sorry you’re having trouble, Shannon! This was the first PDF pattern I made, and like everything there’s a learning curve. :) I have added a picture that should help you put the pages together.
There aren’t any directions on how this pattern goes together. No way to tell which side of the paper page 5 and 6 go. I’ve tried numerous ways and this doesn’t make sense. Really need a picture or directions on how to assemble this pattern.
My apologies, Emily! This was the first PDF pattern I made, and like everything there’s a learning curve. :) I have added a picture that should help you put the pages together.
You can applique the front of the romper if the shirt or material you’re using doesn’t have a design on the front. I am going to make this romper in my size. I followed the image for piecing the pattern together, then set the zoom on my Adobe reader to 150%. I then traced the lines right off my computer screen to get my size (women’s XS-S).
I am planning on making this romper in my size. I already traced the pattern by setting the zoom on my Adobe reader to 150% and tracing the lines from my computer screen.